


11 Feb Apple release the Device Enrolment Programme (DEP)
The latest exciting news coming from Apple is the release of the Device Enrolment Programme (DEP). There’s plenty of questions being asked such as “How does this affect us?”, “How do we sign up?”, “Can we supervise the devices through DEP?”. We’ll answer all of these and more here.
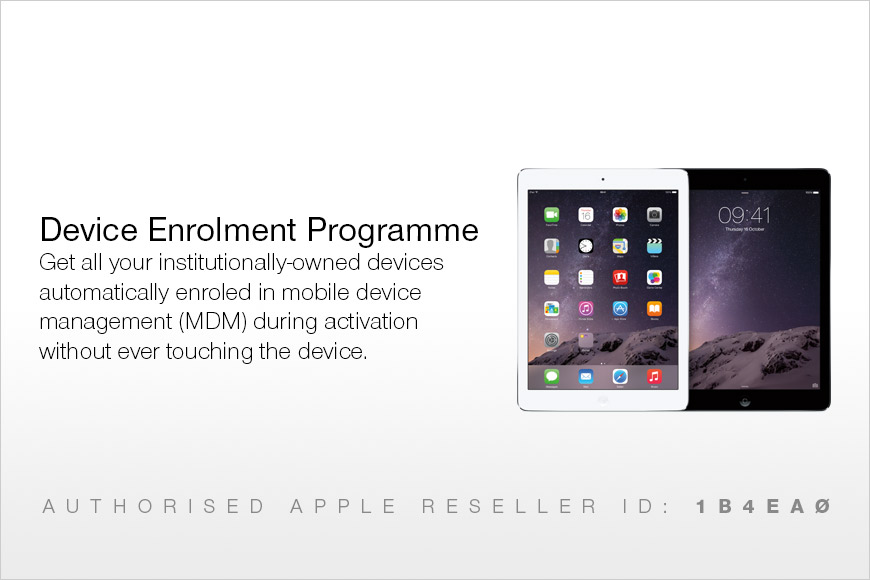
What is Apple DEP?
It means a ‘zero-touch MDM enrolment’, making your life easier. DEP is a new service provided by Apple which allows all of your institutionally-owned devices, whether it’s iPhone, iPad or Mac, to be easily deployed, enrolled and managed once purchased directly from Apple or through an Apple Authorised Reseller like Academia.
DEP will make your deployment less time consuming, less hands-on and overall a less stressful experience. The programme allows for institutions to send details of preferred settings to Apple so that when you receive the device and it has been switched on, all settings and enrolment profiles are installed silently. Making those iPhone, iPad or Mac deployments seamless.
“But I use Apple Configurator to supervise my devices”
With DEP you can remove the process of using Apple Configurator and instead supervise the device wirelessly. The process becomes easier and more hands-off than ever before, whilst still giving you the level of security and restrictions on the device.”
“What about my existing devices?”
Great news, if you have purchased your devices after 1st March 2011 they can still be enrolled into the DEP. Additionally, MDM enrolment is mandatory. Meaning, if any member of staff or student resets their device it will still force the enrolment into your MDM, reinstating all restrictions and settings you had setup prior to the reset.
7 Step Guide to DEP
- Sign up – Create your account. If you already have a VPP account, you can use the same login credentials to sign up to the device enrolment programme. You can do this here apple.com
- Two-Step verification – Make sure your account is protected to the highest level. By adding two-step verification to your account you can also be confident that if you ever forget your username/password you will still have access to your account.
- The detail – You will need a verification contact for your institution and associated contact details. If you purchase directly from Apple you will need your Apple Customer Number.
- Reseller ID – If you purchase through an Authorised Apple Reseller you will need their ID. Our ID is 1B4EA0
- Create administrators – Add others to your DEP account. These will be able to login to your programme and if you have set up a VPP account, access to this too. The admins you add will need to have an email address that is not linked to an Apple ID.
- MDM configuration – Add virtual MDM servers to your DEP programme. You can then link all existing and new devices by tracking orders and assigning devices to the right MDM server. So once the device is switched on and goes through initial setup, all profiles and restrictions are pulled down from the MDM.
- Review – confirm the steps you have made during the setup, track the assigned devices you have made through DEP by using serial numbers. You can also download a .csv file that details all assigned devices and the MDM assigned to.
Step 1 – Sign up
There are two methods to creating you account, whether or not you have a VPP account setup depends on which method applies to you.
I do not have a VPP account setup
You will need to create an agent account. This will have to be done through the Apple Deployment Program (ADP) at deploy.apple.com. You will need to have an email account that is associated to your institute to create the Apple ID. Using a consumer email account such as Live, Yahoo etc will not be accepted by Apple.
I have a VPP account
If you have a VPP account that was created after 26th February 2014 you are able to use your Apple ID for VPP to enroll into the Device Enrolment Programme. If you created the account prior to this date you will need to create a new agent account for DEP. Using the VPP account details, go to deploy.apple.com and sign in. Click enroll next to Device Enrolment Programme and fill in the information required.
Step 2 – Two-step verification
Make sure you have setup two-step verification for your account. You have to set this up through the My Apple ID website (appleid.apple.com). You will be given a recovery key, this is incase you forget the password or lose access to your trusted devices. Once this has been enabled you will receive an email confirming the setup.
Step 3 – The detail
Now your account has been setup and verification has been complete, you will need to add the legal details of your institution. For this you will need a verification contact – this will have to be a member of staff who can legally agree to the DEP terms and conditions for the school or business. If you purchase hardware or software directly from Apple you will need your Apple Customer Number so you can connect all your eligible devices to the DEP.
Step 4 – Reseller ID
You need to add your Reseller IDs. These have to be Apple Authorised Resellers, like Academia. Our ID is 1B4EA0. Please note you can input more than one AAR ID.
Step 5 – Create administrators
Giving access to more than one member of staff is best practice for your business or school. You do not want to be left in a position where a member of staff leaves your institution and has taken all login and setup information with them. We know this should not happen, but it does. After you have been through the setup make sure you add other administrators. These other admins will need to have an email address that is not associated with a current Apple ID. Once added to your DEP they will have access to your system and you can also give them admin access to VPP if you have this setup prior to DEP.
Step 6 – MDM configuration and device assignment
To ensure all existing and future devices are assigned to your MDM you will have to link your DEP with your MDM server/s. By setting up these virtual servers on your DEP it will be linked to your physical MDM server through two-step verification. This ensures a securely authorised MDM server linked to your DEP.
Once the MDM servers have been linked you can begin to assign devices. Tracking your orders is simple as it is by serial numbers or order number. If you are purchasing directly from Apple you will be able to see orders as far back as 1st March 2011 but if you are purchasing through an Apple Authorised Reseller the look-back period is at their discretion. Once an order has been placed through a reseller, the order will appear in the DEP within 24 hours of the reseller posting the order to DEP.
Step 7 – Review assignments
All of the legwork has been done, now it’s time to review your order and make sure you have assigned the right devices to match your MDM server. Other areas you can review are number of devices assigned separated by device type, order numbers and date of the assignment. You can also download the full .csv file that details the serial number of the device and the MDM it is enrolled onto.
If you have any further questions, please get in touch by calling 01992 703 900.